This post is not overwhelmed with any theoretical or practical reflections about Kubernetes. I will just share very easy way of installing and getting started with Kubernetes in the matter of minutes.
So, let’s not waste our time and get Kubernetes cluster up and running locally.
There are many ways to get Kubernetes locally (with docker machine, minikube, etc.). However today I will share extremely easy to use tool — microk8s.
1. Install microk8s
microk8s is native for Linux that’s why it particularly easy to get started on Linux machine (e.g. Ubuntu):
Install
$ sudo snap install microk8s --classicCheck the status
$ sudo microk8s.status --wait-readyYou probably expected it will be hard to get Kubernetes locally — but believe it or not, you know have 1 node cluster up and running on your local machine. Congratulations!
If you are MacOS or Windows user, don’t get discouraged to try microk8s. Here you can find instructions to get the tool in your hands. |
Then, re-enter the session for the group update to take place: |
2. Getting familiar
To have a minimum footprint microk8s is shipped with the most necessary Kubernetes components. However it provides easy way to enable/disable additional services ("addons"). Addons are preconfigured and most of the time work seamlessly out-of-the-box.
| Here you can get a list of all supported addons. |
To get familiar and show what is available at your disposal, I will show a few commands to inspect installed Kubernetes cluster. To dive deeper just checkout excellent documentation that microk8s provides.
|
2.1. Checking available nodes
$ microk8s.kubectl get nodes

NAME                        STATUS   ROLES    AGE    VERSION
<YOUR_LOCAL_MACHINE_NAME>   Ready    <none>   198d   v1.17.2
No surprises here, it’s your local machine.
2.2. Checking available services
$ microk8s.kubectl get services

NAME         TYPE        CLUSTER-IP     EXTERNAL-IP   PORT(S)   AGE
kubernetes   ClusterIP   10.152.183.1   <none>        443/TCP   198d
2.3. Checking available namespaces
$ microk8s.kubectl get all --all-namespaces


NAMESPACE            NAME                                                  READY   STATUS    RESTARTS   AGE
container-registry   pod/registry-6c99589dc-pmgzr                          1/1     Running   82         198d
kube-system          pod/heapster-v1.5.2-844b564688-bf75b                  4/4     Running   455        198d
kube-system          pod/hostpath-provisioner-58564cb894-dpt6r             1/1     Running   84         198d
kube-system          pod/kubernetes-dashboard-7d75c474bb-8fhjk             1/1     Running   93         198d
kube-system          pod/monitoring-influxdb-grafana-v4-6b6954958c-lsbw7   2/2     Running   190        198d

NAMESPACE            NAME                           TYPE        CLUSTER-IP       EXTERNAL-IP   PORT(S)             AGE
container-registry   service/registry               NodePort    10.152.183.213   <none>        5000:32000/TCP      198d
default              service/kubernetes             ClusterIP   10.152.183.1     <none>        443/TCP             198d
kube-system          service/heapster               ClusterIP   10.152.183.100   <none>        80/TCP              198d
kube-system          service/kubernetes-dashboard   ClusterIP   10.152.183.224   <none>        443/TCP             198d
kube-system          service/monitoring-grafana     ClusterIP   10.152.183.102   <none>        80/TCP              198d
kube-system          service/monitoring-influxdb    ClusterIP   10.152.183.87    <none>        8083/TCP,8086/TCP   198d

NAMESPACE            NAME                                             READY   UP-TO-DATE   AVAILABLE   AGE
container-registry   deployment.apps/registry                         1/1     1            1           198d
kube-system          deployment.apps/heapster-v1.5.2                  1/1     1            1           198d
kube-system          deployment.apps/hostpath-provisioner             1/1     1            1           198d
kube-system          deployment.apps/kubernetes-dashboard             1/1     1            1           198d
kube-system          deployment.apps/monitoring-influxdb-grafana-v4   1/1     1            1           198d

NAMESPACE            NAME                                                        DESIRED   CURRENT   READY   AGE
container-registry   replicaset.apps/registry-6c99589dc                          1         1         1       198d
kube-system          replicaset.apps/heapster-v1.5.2-6b794f77c8                  0         0         0       198d
kube-system          replicaset.apps/heapster-v1.5.2-6f5d55456                   0         0         0       198d
kube-system          replicaset.apps/heapster-v1.5.2-844b564688                  1         1         1       198d
kube-system          replicaset.apps/hostpath-provisioner-58564cb894             1         1         1       198d
kube-system          replicaset.apps/kubernetes-dashboard-7d75c474bb             1         1         1       198d
kube-system          replicaset.apps/monitoring-influxdb-grafana-v4-6b6954958c   1         1         1       198d
The command line is place where we live, but some people enjoy UI too.
3. Dashboard addon
Most of the details can be found here. I will give the gist of the steps needed for the sake of completeness:
Enable dashboard
$ microk8s.enable dashboardGet access token
$ token=$(microk8s.kubectl -n kube-system get secret | grep default-token | cut -d " " -f1)

$ microk8s.kubectl -n kube-system describe secret $token
Use port-forwarding, to access dashboard on your local machine
$ microk8s.kubectl port-forward -n kube-system service/kubernetes-dashboard 10443:443

Forwarding from 127.0.0.1:10443 -> 8443
Forwarding from [::1]:10443 -> 8443
Voilà! Now you can enjoy Kubernetes dashboard!
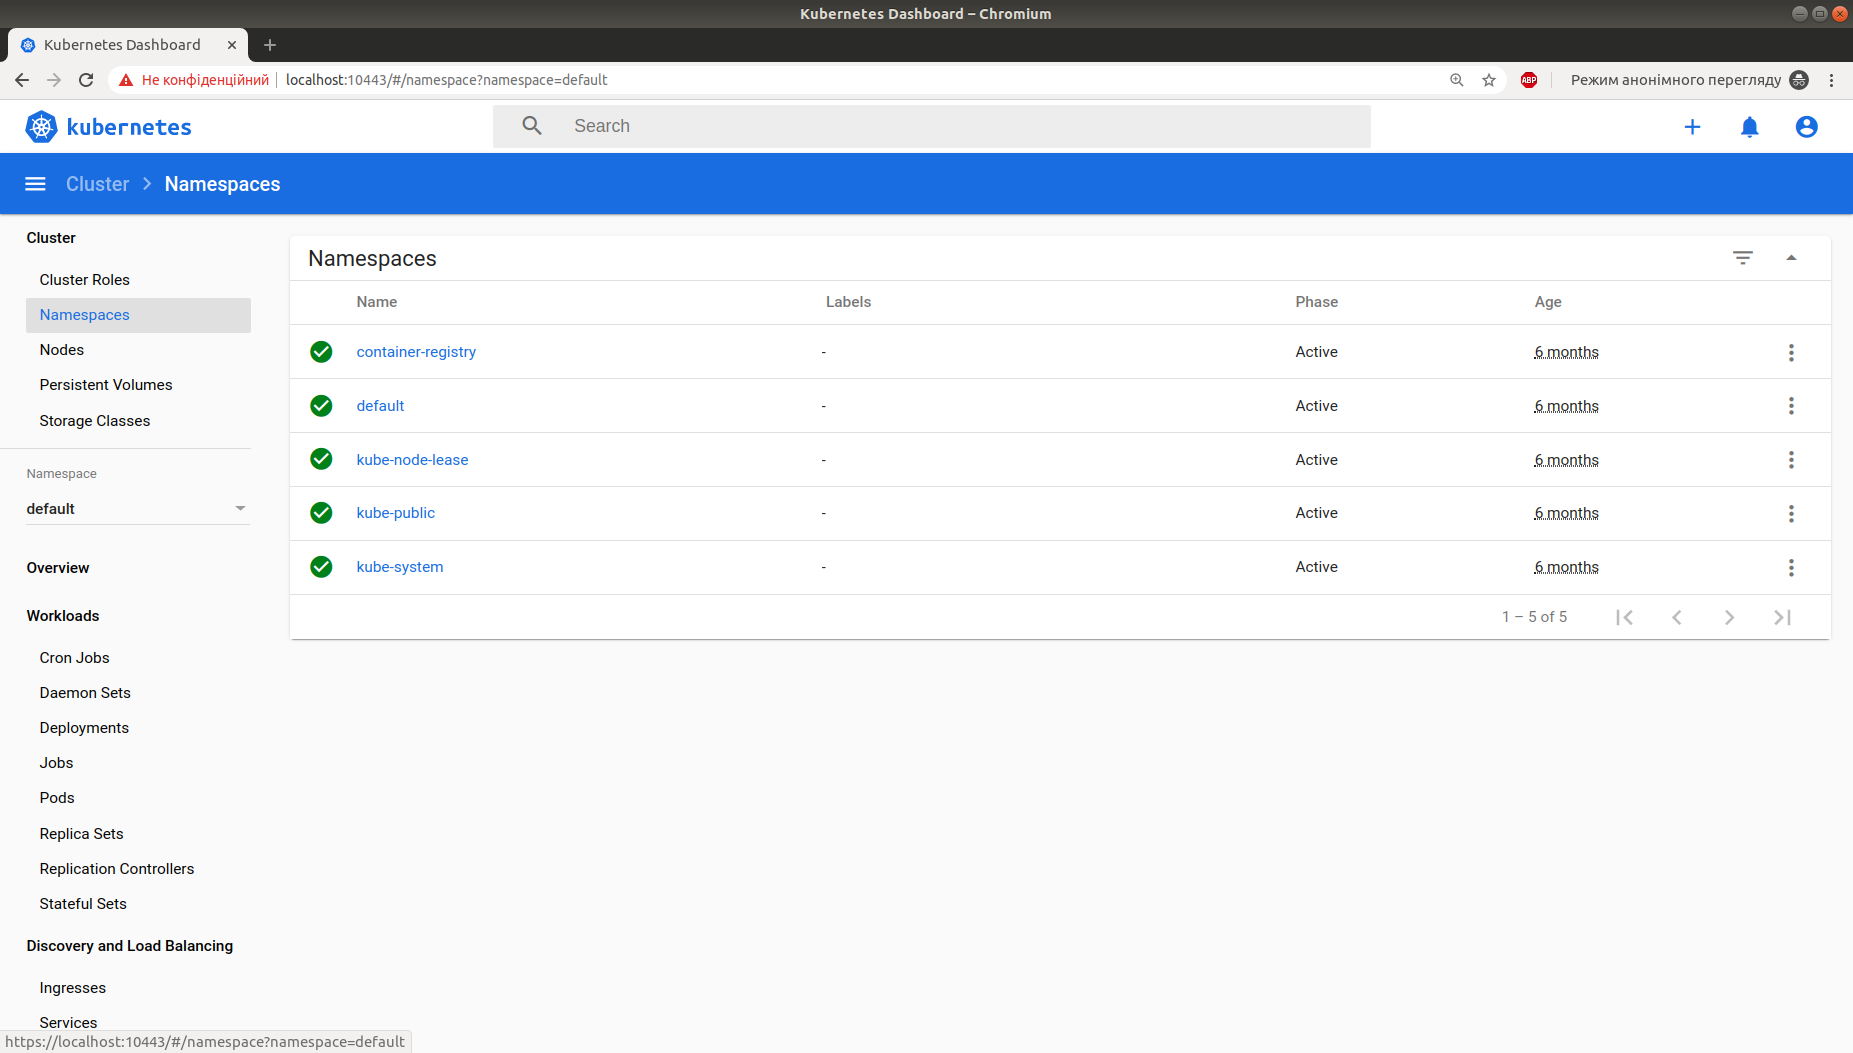
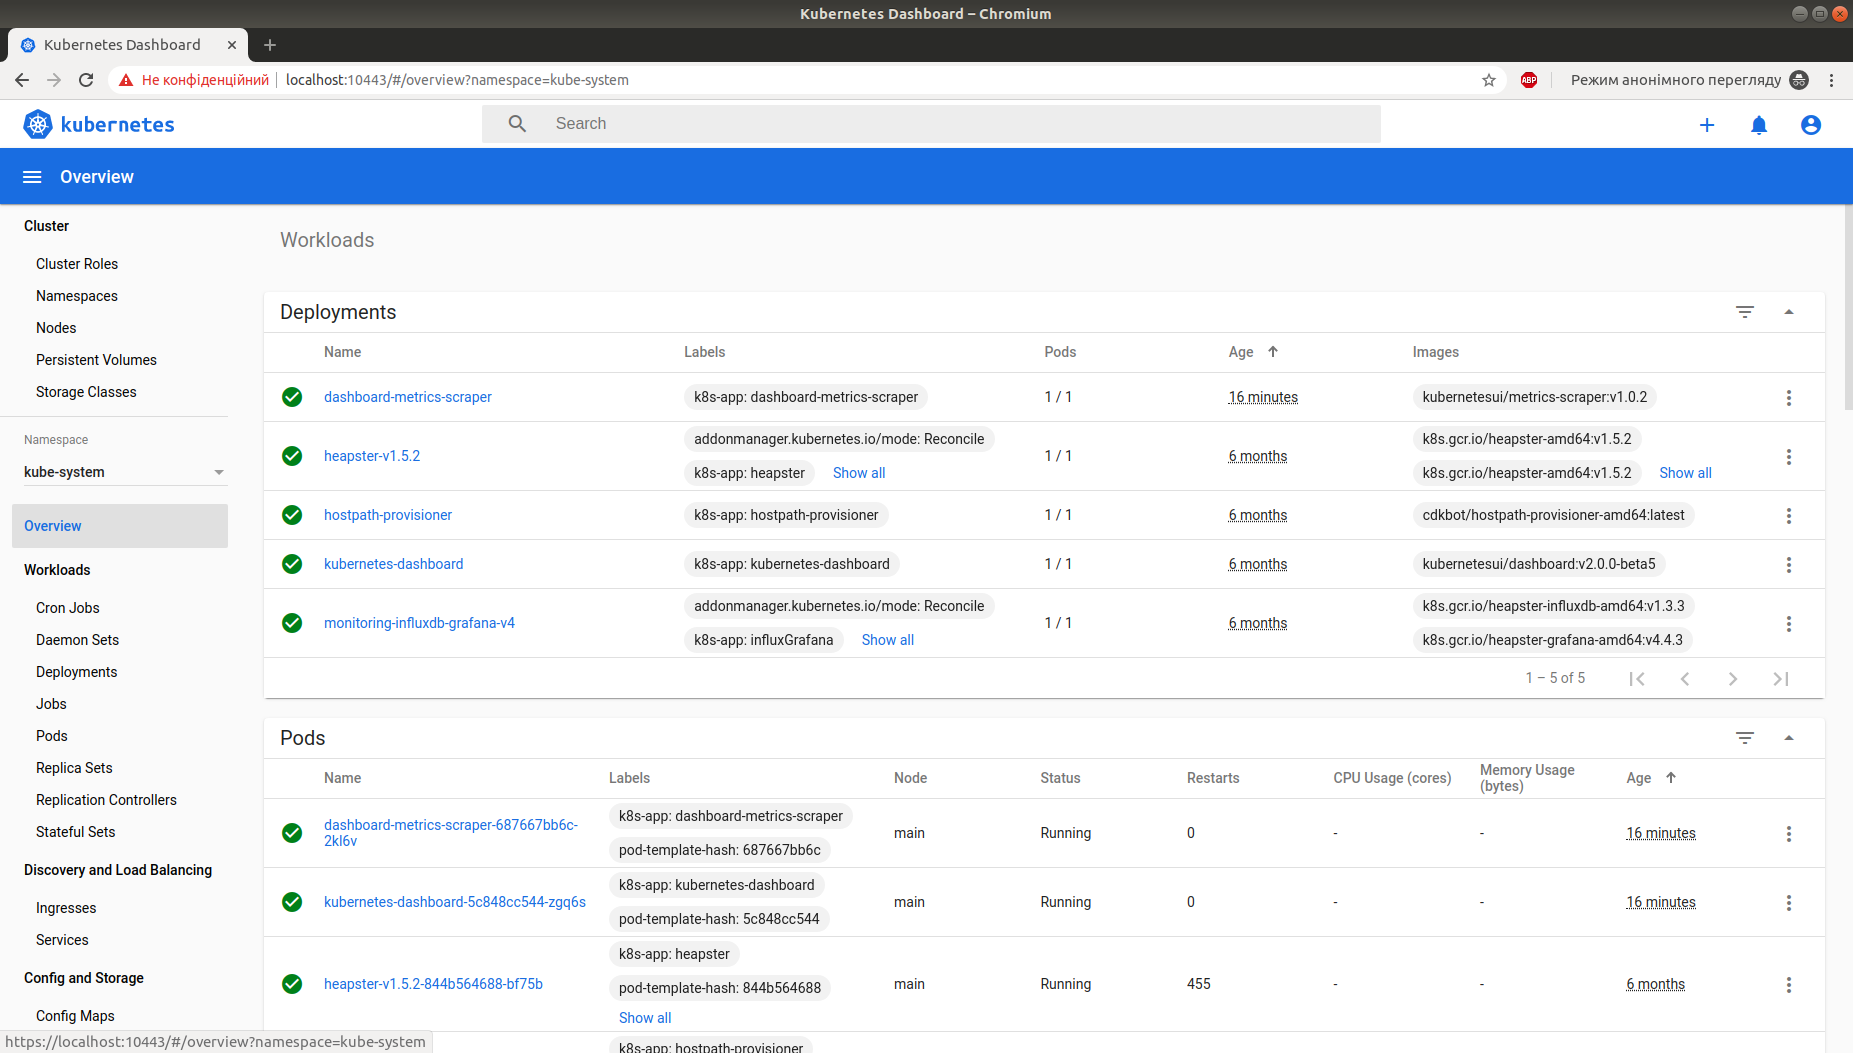
Enter https://localhost:10443/ in your browser
Login with
tokencreated previously

Check-out namespaces / overview
Last tip for today — Occasionally it might give you nasty port conflicts, so here is command to stop To start it again: |
4. Conclusion
That it for now. Good luck in your Kubernetes journey!